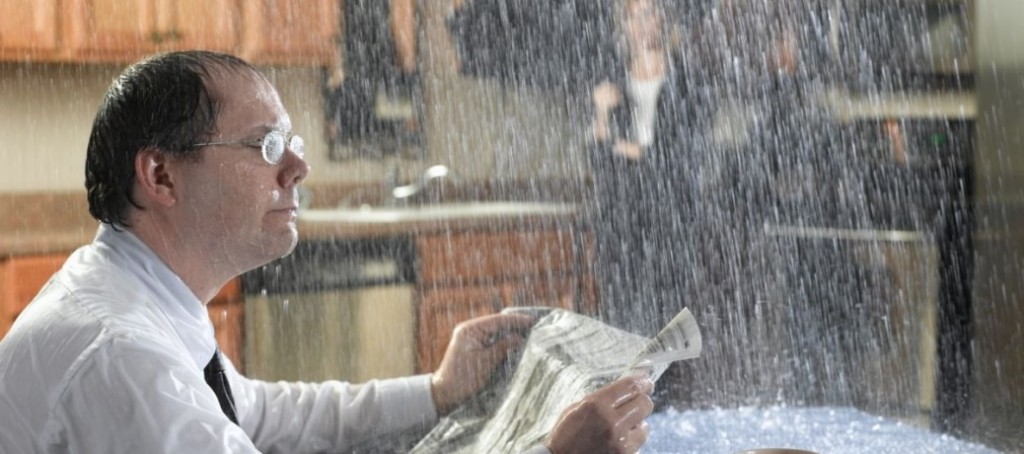
We all can agree that roof leaks can cause a lot of damage and havoc in your house. Now, the hardest part is usually finding out where the actual leak is. This is because the water can gain entry on one spot, run down to others and then trickle down to the ceiling. It could be a long distance from the entry point or just above it. Either way, figuring out the exact leak spot is the hardest. The main characteristic of a leaking roof is the staining on the ceiling or the walls. By the time you realize this, it means that the problem has been there for quite some time, and it is time to fix it. Below is a procedure you can follow to determine the cause, how to fix it and ensure that it stays fixed.
How to find the leak
The best time to do this is when it is raining. When the rain is pounding heavily outside, take advantage of this situation and try to locate the leak. If you have an attic, you can climb up there and try locating the leak. Water usually reflects light so carry a flashlight with you. It will assist you in location the area more accurately. Once you have marked it and temporarily block it out, then wait for a sunny day to do a proper fix. If you do not have an attic, you can try finding the source of the leak by the wetness and moisture damage on the ceiling. On the outside, check for the area directly above and around where there is leakage. Check for damaged, broken, curled or missing roof parts.
Fixing the problem
Identifying the problem is one thing and fixing it is another. Depending on the kind of roofing you have will determine the way you fix it. Depicted below are some of the common roof types and ways to fix them when a problem is sited:
Shingles – Check for damaged or curled ones right above or around where the leak is occurring. If they are bent, use heat to straighten them and fix them back with roof cement. If totally damaged and broken, then have them replaced with new ones.
Roll roofing – They usually have blisters just before leaking. The best way to handle this is to cut the blister and soak up the water then use roof cement and galvanized nails to fix the leak.
Hardwood shakes – Once you find the damaged ones, you have to remove them and replace with new ones taking great care not to damage the good ones.
Connections – Usual leak areas happen around the chimney and vent pipes. Deteriorating compounds that were used to fix them can cause this. Just remove the old compounds and have new ones installed.
Remember, safety first!
This is paradoxical, but you need to understand that fixing a roof is not entirely a walk in the park. There are dangers that come with the job. Safety precautions should be undertaken to ensure that you do not fall victim to the many dangers that lurk around. Use of safety ropes, rubber soled shoes, proper tools and equipment and keeping away from the power lines could be a good start.
It is always advised that you hire a professional roofing company for any inspections or repairs. Feel free to contact us to learn more about our services.
Comments (No Responses )
No comments yet.